
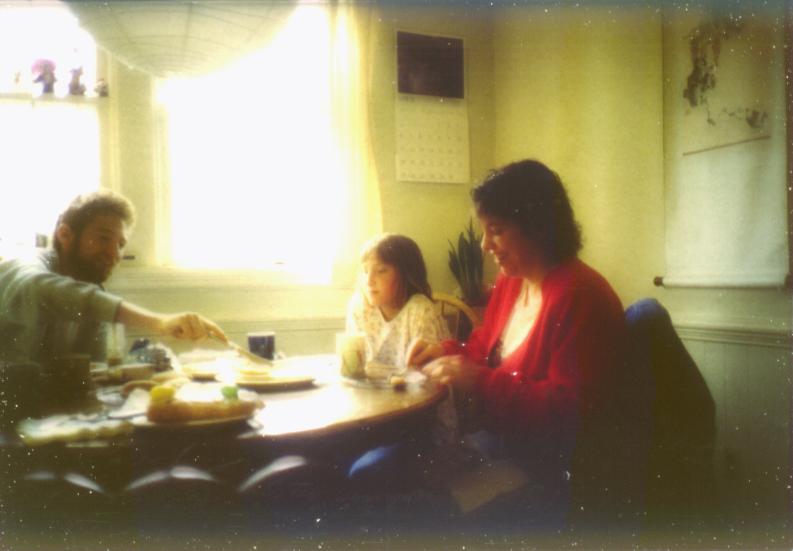
300 dpi (optical) x 2
The photo was taken in available light, on a bright day and with a northern exposure. When viewed directly, the slide is much clearer than the scans are--much less contrasty and there is more detail. For example, the numbers on the wall calendar are clearly legible in the slide, despite the pronounced graininess of the ISO 400 Ektachrome in the low illuminaton. The names of the days, however, are swallowed up in the grain, so that's where the slide's clarity threshold is. The faces are somewhat grainy, too, although the grain doesn't show up in any of the scans, so it's evidently smaller than the scanner can see.
Each image is a separate scan produced by placing the slide on the scanner with a sheet of white paper above it. All software (ScanWizard) settings were the defaults, except for the Exposure, which was set at 402, the setting that seemed to produce the best overall images. A higher or lower Exposure setting affected the amount of detail in the darker or lighter areas, respectively. In retrospect, I think a higher Exposure setting would have been better--would have brought out the faces better.
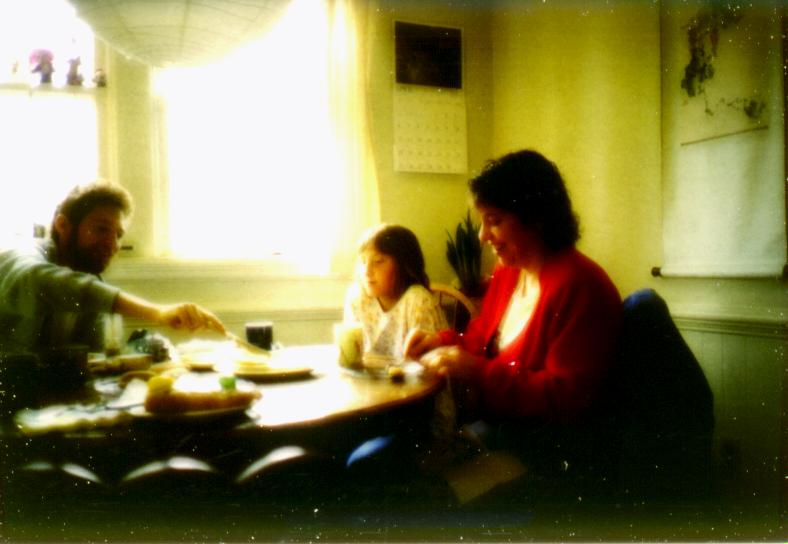
The third image is identical to the second, except that I tried Wayne Fulton's excellent advice and before scanning adjusted the black threshold with ScanWizard's Shadow/Highlight tool. You'll see that that scan has much more intense colors.
The subjects, in case you're curious, are my son Chris and my wife's college roomate, Marlene, and her daughter Johanna.
300 dpi (optical) x 2
600 dpi (optical) x 1
600 dpi +30 black x 1
The images below are of Johanna's face, but were scanned separately at the resolutions indicated. I've scaled the images in the browser, so that they're all the same size, to make it easier to compare the resolutions. The bottom one is its normal size--not scaled at all.

300 dpi (optical) x 16

600 dpi (optical) x 8

1200 dpi (interpolated) x 4. Interpolation really does work!

2400 dpi (interpolated) x 2

4800 dpi (interpolated) x 1
Compare the images of Johanna's face with these at
twice the magnification.
Send me email

(Please type it into the "To:" box in an email message.)
Don Maxwell
Richmond, VA, USA